 In my family we take holidays and holiday traditions very seriously. Halloween is no exception. This past week we had the chance to do our annual viewing of Disney’s The Nightmare Before Christmas. If you haven’t seen this movie, stop reading, go watch it, and come back to read the rest of this post. You will thank me later. For those of you who have seen it, you know that this movie is one of the best Halloween movies of all time. It’s probably the best Halloween/Christmas movie out there. There isn’t much competition for this category of movie, but still it reigns supreme. This isn’t a movie review, though, so back to my story and this recipe. My kids were so pumped up after watching this movie that I had to make a Jack Skellington lunch. I kind of forget sometimes how cool traditions can be with kids. Around the holidays it really helps them to look forward to certain things, and if we have traditions that involve kids and dads, it just helps us bond even more. Something as simple as a movie night can create an awesome memory.
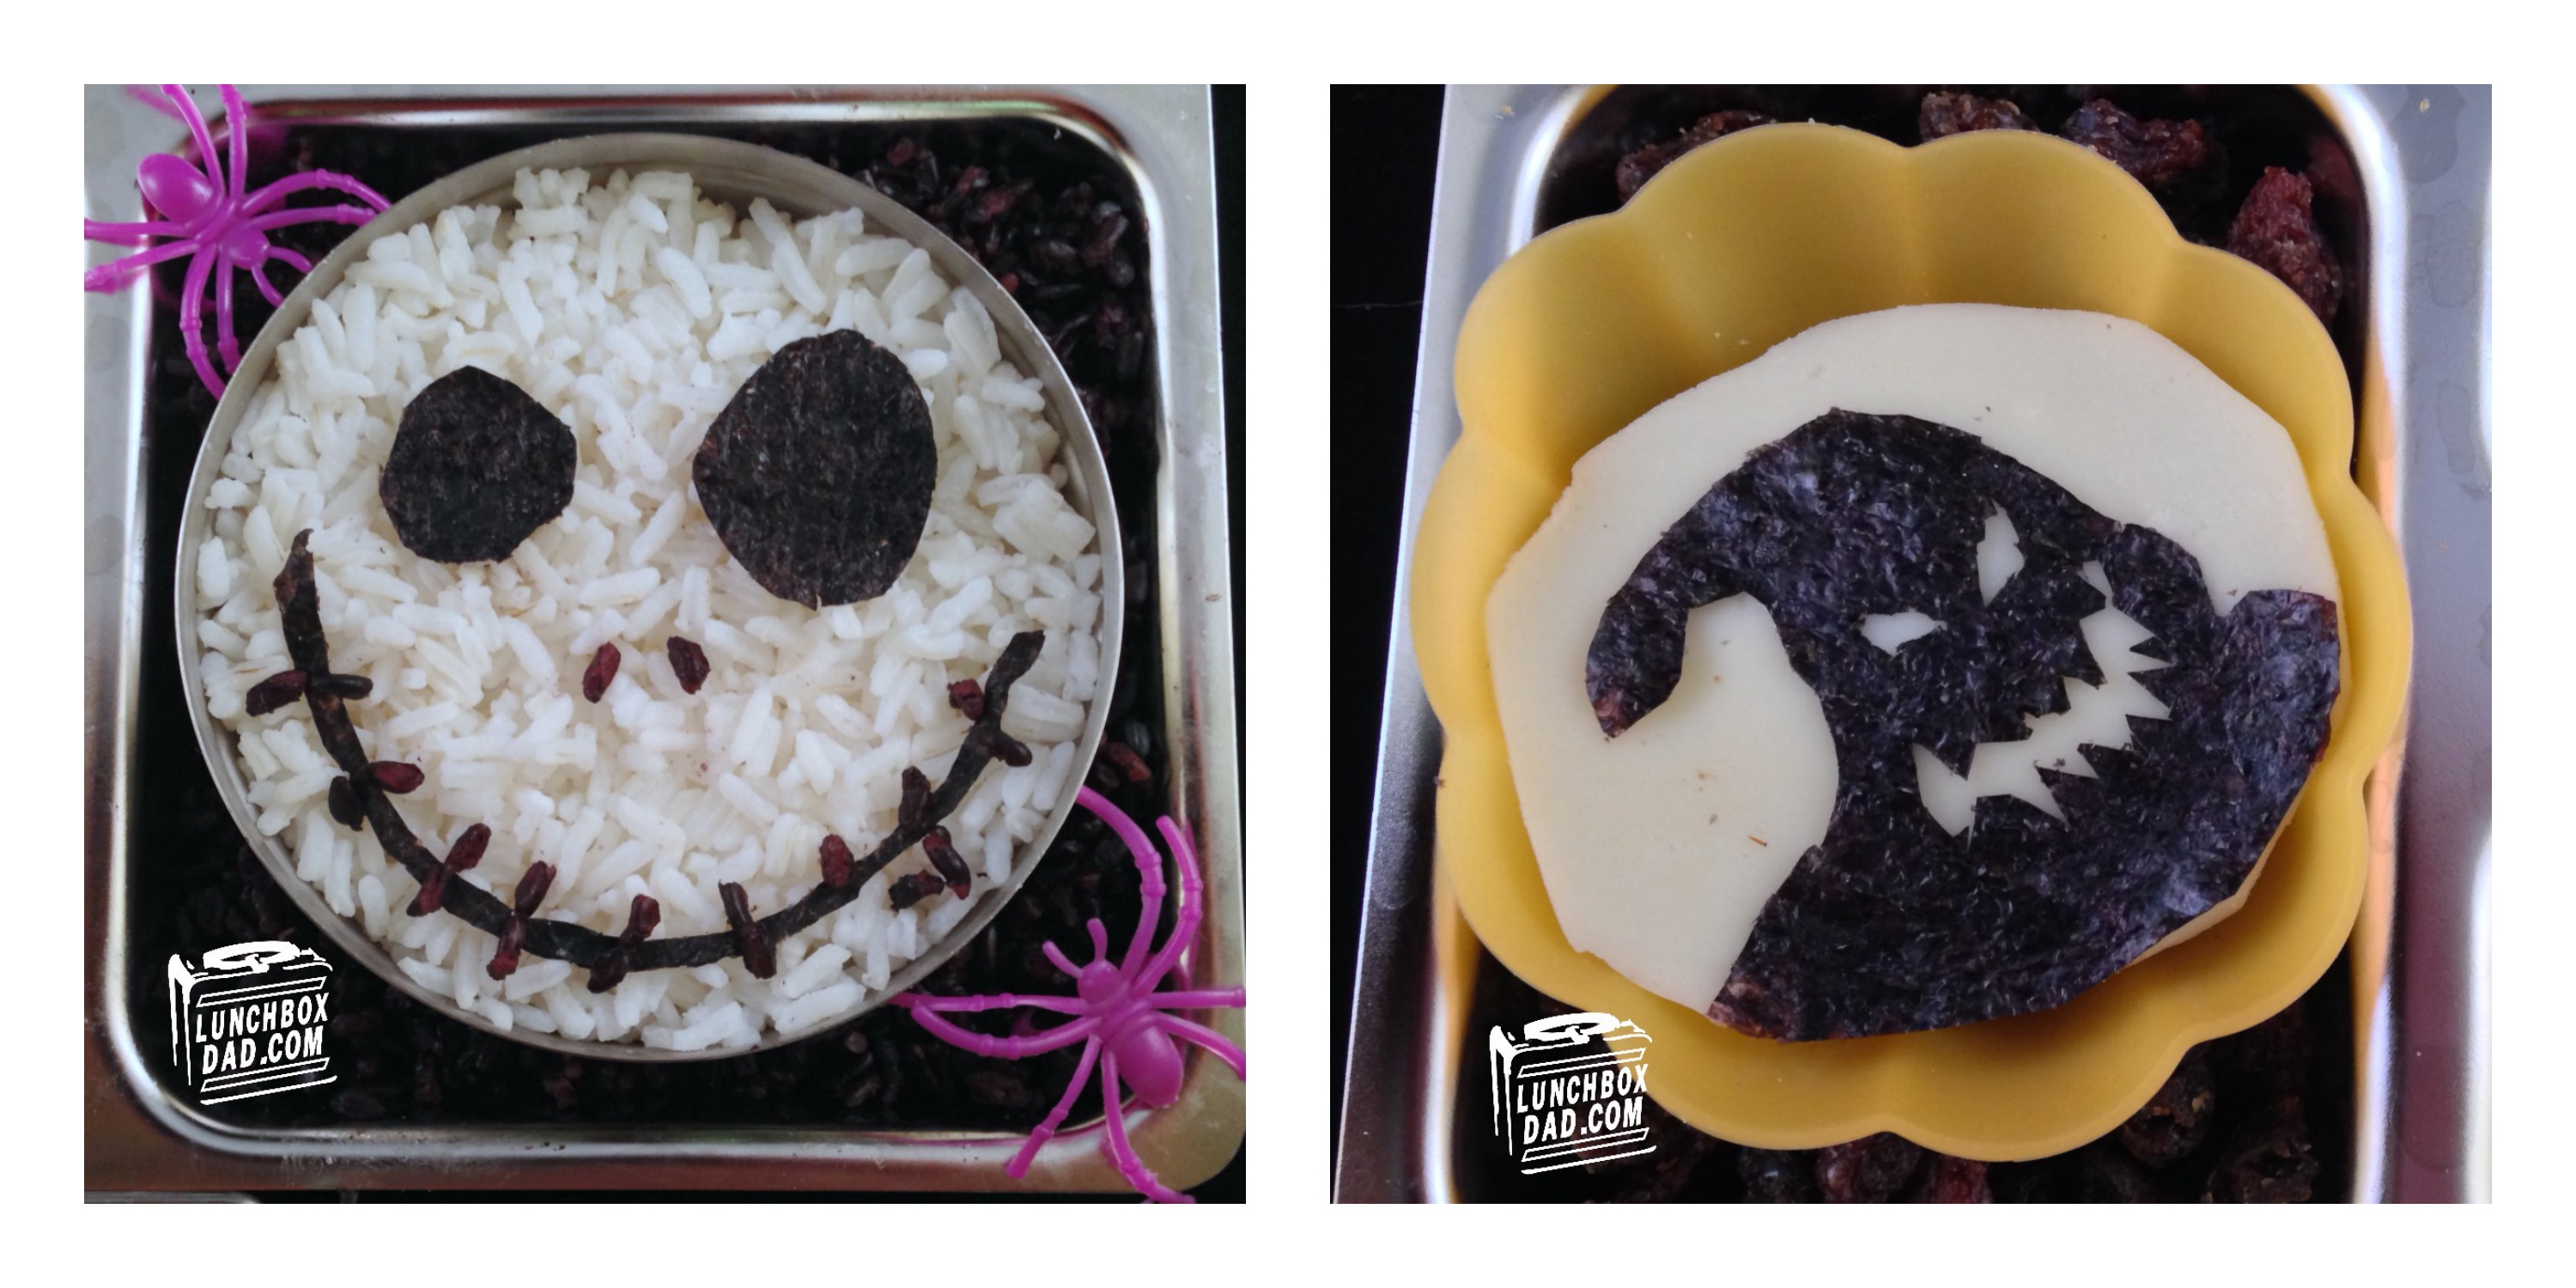
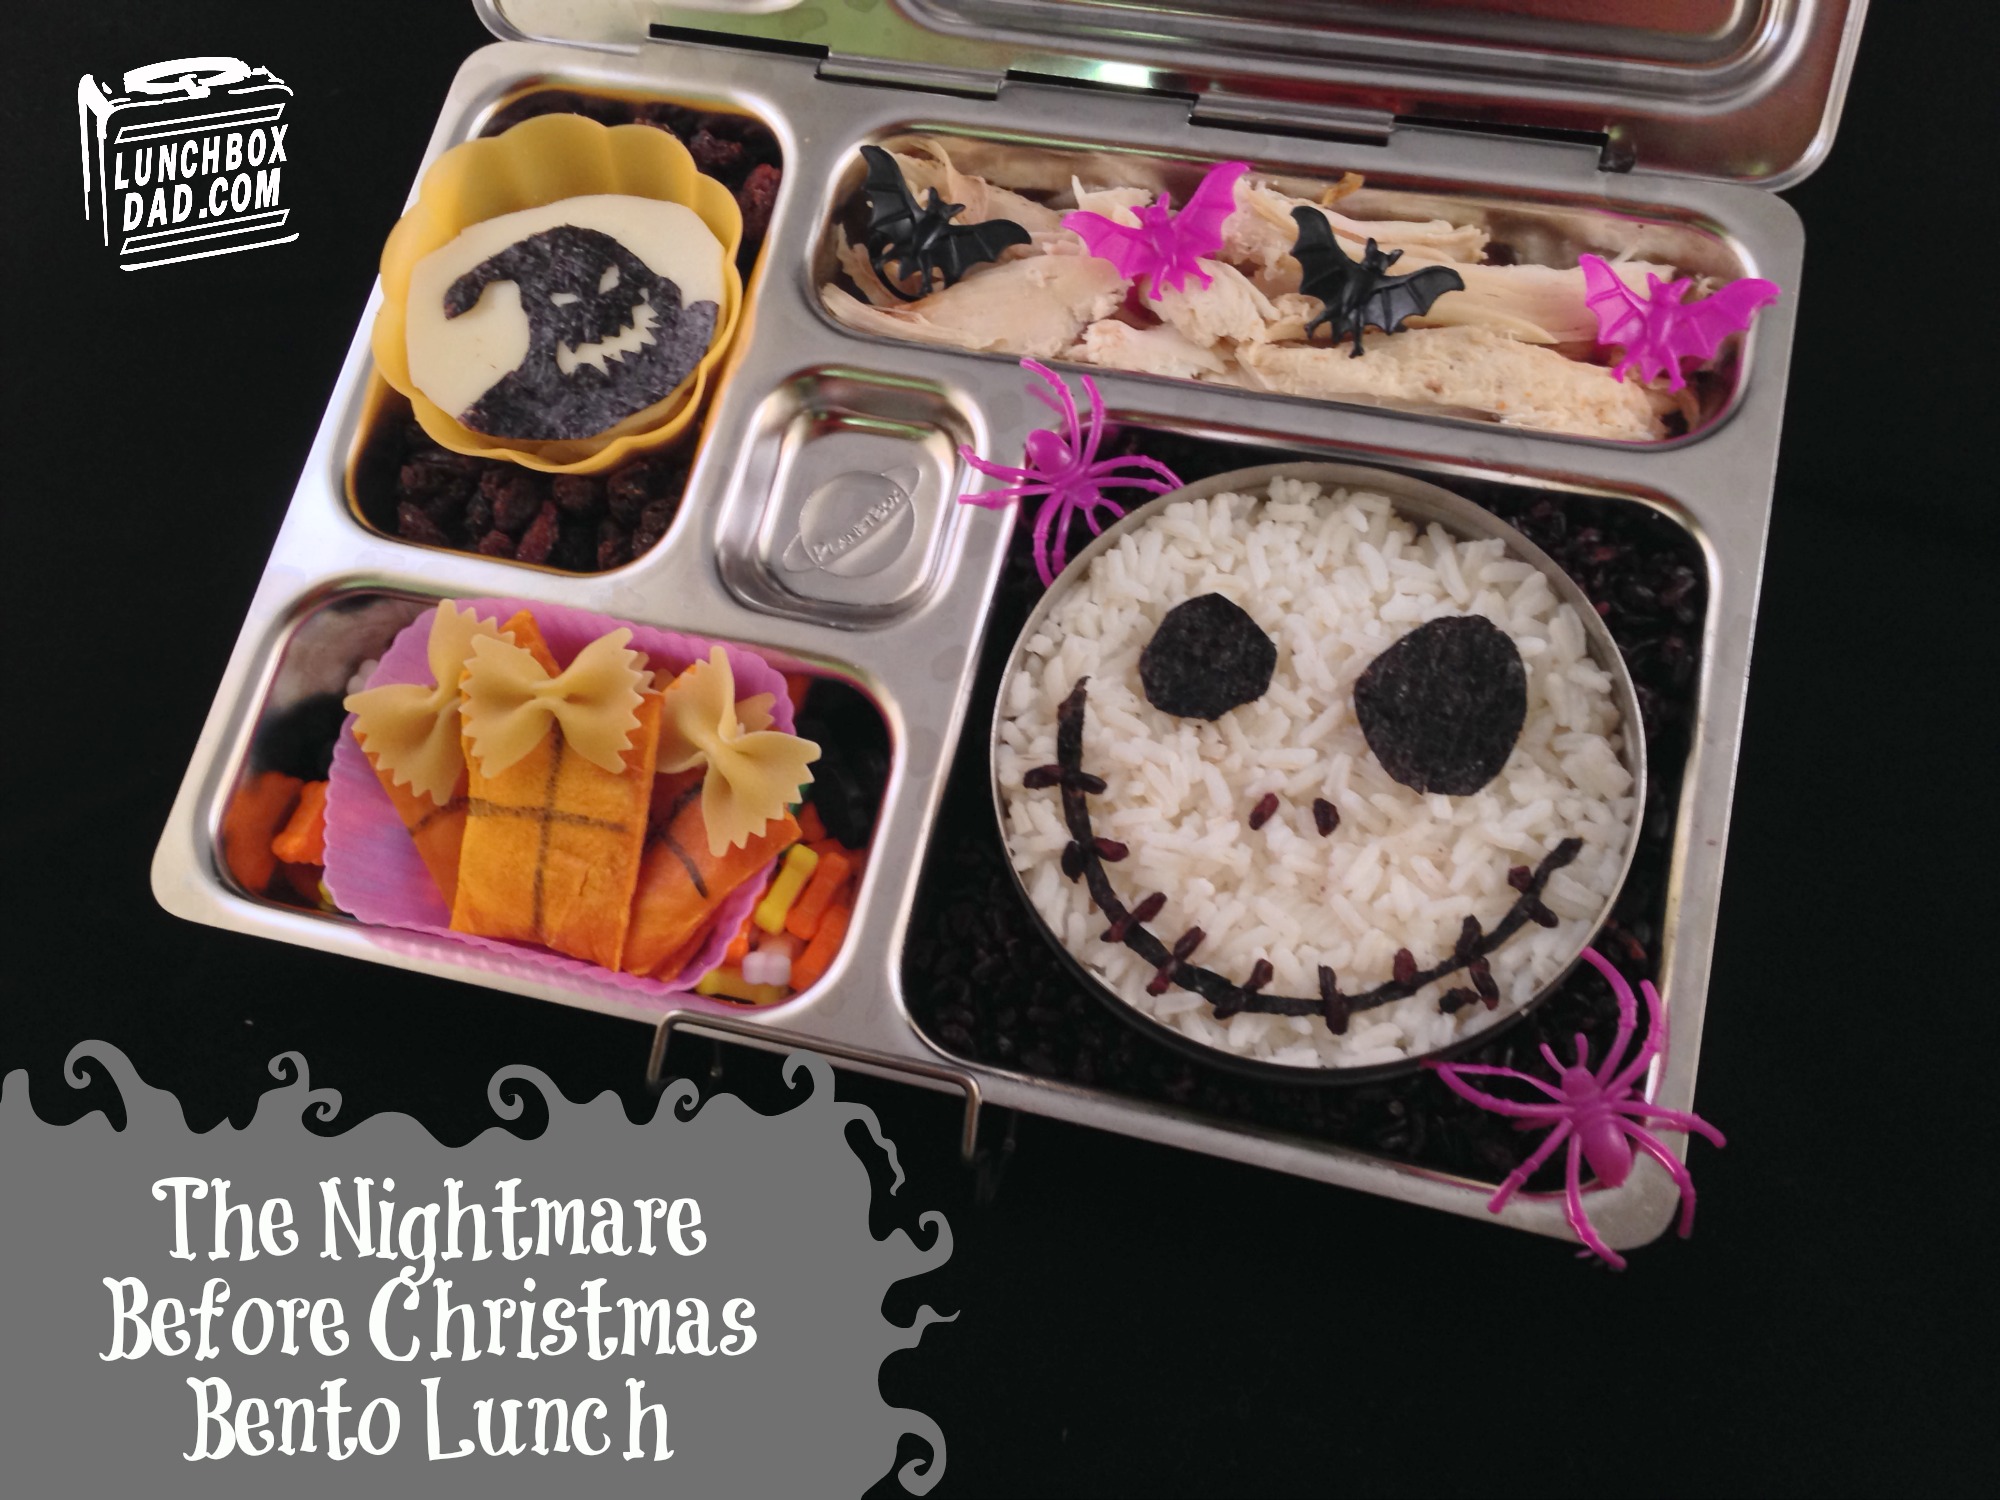
So do your best and don’t be intimidated by the picture. If you can boil water on a stove and cut paper with scissors, then you have all the skills necessary to make at least part of this. If you don’t have those skills, well, I can’t help you very much. Seriously though I used Minute Rice for the white portion and black rice for the black part. It’s technical name is “Forbidden Rice” but you can use any black rice. All you do to prepare the black rice is boil water, throw in the rice, and wait 30 minutes, stirring occasionally. I also use nori or dried seaweed for the eyes and mouth. You can find this in most grocery stores. It is like paper and you just cut it with scissors. I am not an art major so it wasn’t perfectly symmetrical which works out well because that is how the character looks. So if you mess up the proportions, great, you’ve done it right! All the rest is frosting on the cake so give it a shot for Halloween because your kids will love it. Pair it with some strips of turkey or chicken and you actually have a healthy meal. Also, never underestimate the power of putting some small plastic themed toys around the meal to dress it up. That’s easy and you can probably just rob your kid’s room for them. If it helps I have more pictures on my blog over at lunchboxdad.com. On to the recipe.