 This week for our Art and Crafts segment here at Life of Dad we are making paper chain friendship bracelets. My daughter and I were looking to do a craft since we were snowed in. We had all day so we decided to make these somewhat time consuming friendship bracelet. You might need to do most of the work with creating the bracelet, but your child can help in many ways. My daughter folded all the paper sheets for me to help prep up all the pieces I needed for this craft.
Materials Needed:
Paper strips
Scissors
String
Directions:
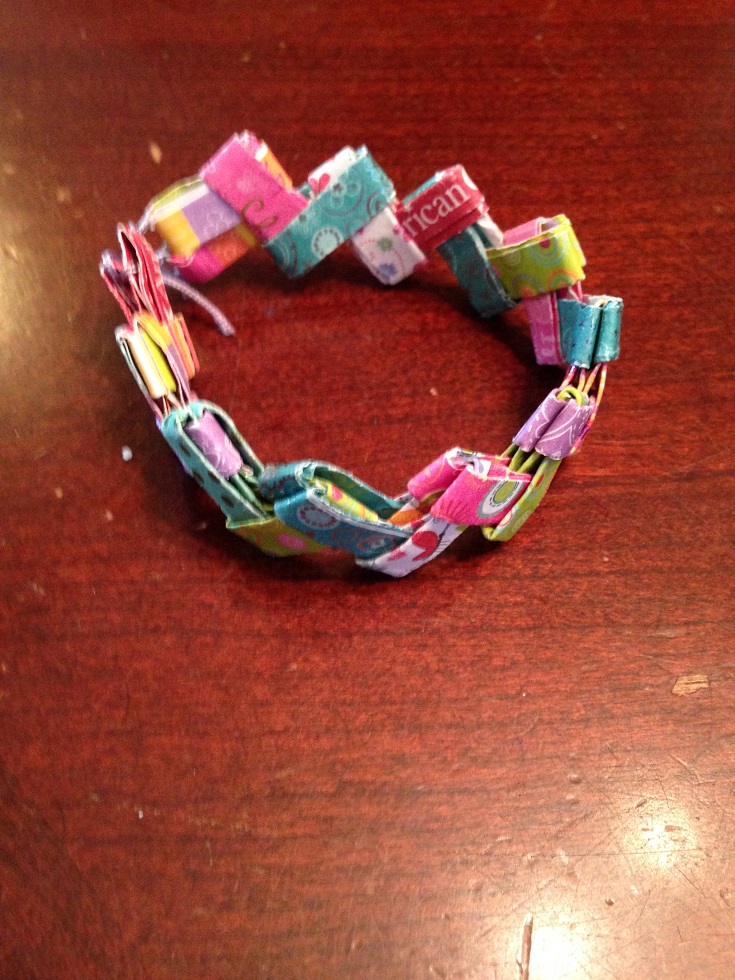 The paper strips that we had used were from an American Girl doll kit. They were about 1 x 3 inches wide. You will need around 22-26 strips. First, fold the strip lengthwise, with the pattern side of the paper being on the outside. Open it back up so you are looking at the crease on the inside of the paper. Next fold the sides into the crease so that they meet at the crease. Then, fold it closed along the original crease.
Right now you should have a little rectangle that is still the original height of the paper strip but is one-fourth the size of the original width. Fold this strip in half so that the bottom and top of the strip touch each other. Open this fold up so you are looking at the crease and fold the two sides into the crease so they meet at the crease.
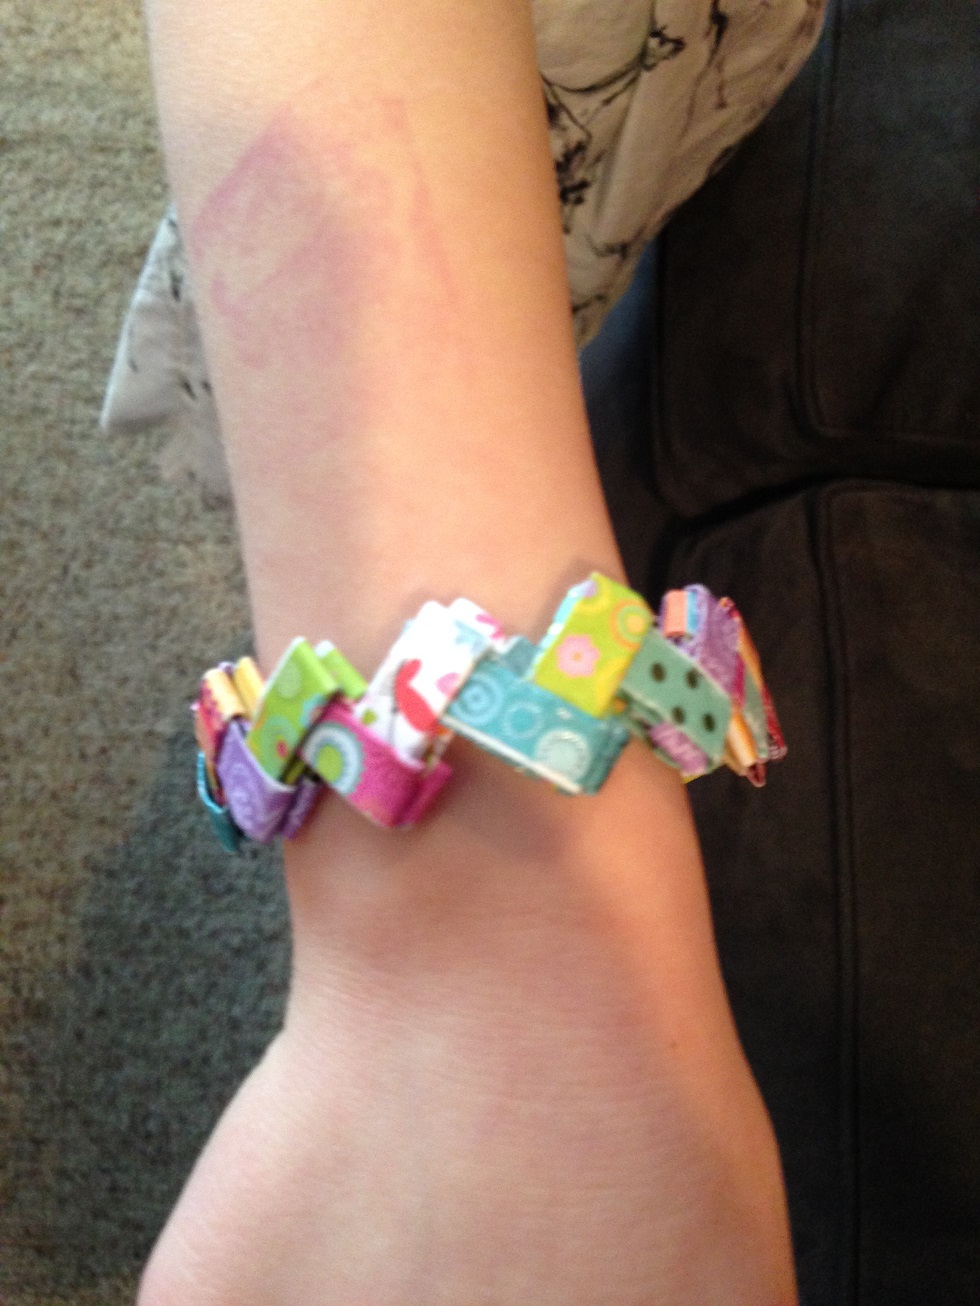
Once you have created a second link, you can start the chaining process. To connect the links, put the link’s arms through the loops of the other link. As you make links and chain them together, check the length by wrapping it around your child’s wrist. You want it to be large enough so that it can easily slide over your kid’s hand. Once you get to the right length, you can use string and tie the ends up.